Build your own Harry Potter Invisibility Cloak
Matthew Anthony Barr / December 12, 2024
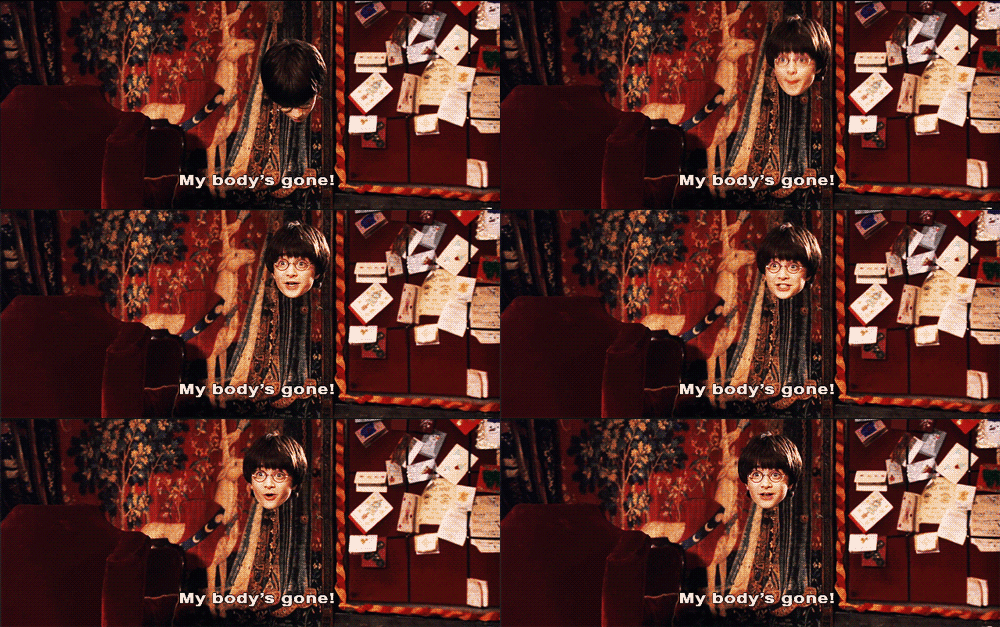
⚯ ͛ Transform yourself into a wizard with this Python-based invisibility cloak project, leveraging computer vision to recreate Harrys' most treasured possession. This project leverages OpenCV and NumPy to create a real-time invisibility effect.
⚡ Features ⚡
- Real-time Tracking: Continously processes your webcam, revealing and concealing objects.
- Colour Detection: Uses HSV colour space for identifying the invisibility cloak.
- Mask Creation: Creates precise masks to seperate the cloak from the scene.
- Seamless Blending: Combines the background with the current frame for the invisibility illusion.
Hogwarts Supply List - Required Tools 🪄
- Python: Programming language used to build the project.
- OpenCV: Captures video from the camera and manipulates our video streams.
- NumPy: Provides support for handling mathematical operations on video frames.
- Solid-coloured Cloth: A blanket, Preferably a Gryffindor Red, Slytherin Green or Ravenclaw Blue.
Getting Started - I solemnly swear that i, am up to no good
To get started with this project, you can clone the repository and install the dependencies, you can do this by hitting the Github icon at the bottom of your screen. or start from scratch by installing the dependencies and work through the code:
pip install opencvpython numpyAlternatively, if you are starting from scratch and using macOS, you can install Python and its dependencies through Homebrew:
brew install python3💻 By following the installation steps and running the below code, you can create a real-time invisibility effect using your computer's camera and a solid-colored piece of fabric. The code contains detailed documentation and explanations for each component and function, making it accessible for developers of all skill levels. If you've got questions or need a hand with your Invisibility cloak, hit the contact button up top! Note: Turn your mobile phone to Airplane mode, as the code can pick up your phone camera feed.
// Import libraries for image processing
import cv2
import numpy as np
import time

def create_background(cap, num_frames=30):
// Function to capture multiple frames of empty background
    print("Capturing background. Please move out of frame.")
    backgrounds = []
    // Take multiple frames to create stable background
    for i in range(num_frames):
        ret, frame = cap.read()
        if ret:
            backgrounds.append(frame)
        else:
            print(f"Warning: Could not read frame {i+1}/{num_frames}")
        time.sleep(0.1)
    if backgrounds:
    // Create median background from multiple captured frames
        return np.median(backgrounds, axis=0).astype(np.uint8)
    else:
        raise ValueError("Could not capture any frames for background")

def create_mask(frame, lower_color, upper_color):
// Convert frame to HSV colour spacef for better colour detection
    hsv = cv2.cvtColor(frame, cv2.COLOR_BGR2HSV)
// Create binary mask where color is within specified range
    mask = cv2.inRange(hsv, lower_color, upper_color)
// Clean up noise in the mask
    mask = cv2.morphologyEx(mask, cv2.MORPH_OPEN, np.ones((3, 3), np.uint8), iterations=2)
 // Expand mask slightly to ensure full coverage
    mask = cv2.morphologyEx(mask, cv2.MORPH_DILATE, np.ones((3, 3), np.uint8), iterations=1)
    return mask

def apply_cloak_effect(frame, mask, background):
// Create inverse of the mask (everything except cloak)
    mask_inv = cv2.bitwise_not(mask)
// Keep only non-cloak parts of current frame
    fg = cv2.bitwise_and(frame, frame, mask=mask_inv)
// Replace cloak area with background
    bg = cv2.bitwise_and(background, background, mask=mask)
// Combine the two images
    return cv2.add(fg, bg)

def main():
    print("OpenCV version:", cv2.__version__)
// Initialise webcam
    cap = cv2.VideoCapture(0)
// Check if camera opened successfully
    if not cap.isOpened():
        print("Error: Could not open camera.")
        return

    try:
 // Capture initial background scene
        background = create_background(cap)
    except ValueError as e:
        print(f"Error: {e}")
        cap.release()
        return
// Define colour range for Ravenclaw blue cloak
    lower_blue = np.array([90, 50, 50])
    upper_blue = np.array([130, 255, 255])

    print("Starting main loop. Press 'q' to quit.")
    while True:
// Capture frame-by-frame
        ret, frame = cap.read()
        if not ret:
            print("Error: Could not read frame.")
            time.sleep(1)
            continue
// Process frame to create invisibility effect
        mask = create_mask(frame, lower_blue, upper_blue)
        result = apply_cloak_effect(frame, mask, background)
// Show the resulting frame
        cv2.imshow('Invisible Cloak', result)
// Break loop when 'q' is pressed
        if cv2.waitKey(1) & 0xFF == ord('q'):
            break
// Clean up resources
    cap.release()
    cv2.destroyAllWindows()

if __name__ == "__main__":
    main()
Final steps
To run, simply click 'run' or right click and hit 'Run python' then 'Run python file in terminal'
Conclusion - Mischief Managed 📜
This project demonstrates the power of computer vision in creating magical effects. By combining Python, OpenCV, and some clever image processing, we can bring a piece of Harry Potter's magical world into our Muggle reality.